Anatomy of a Smart Mirror
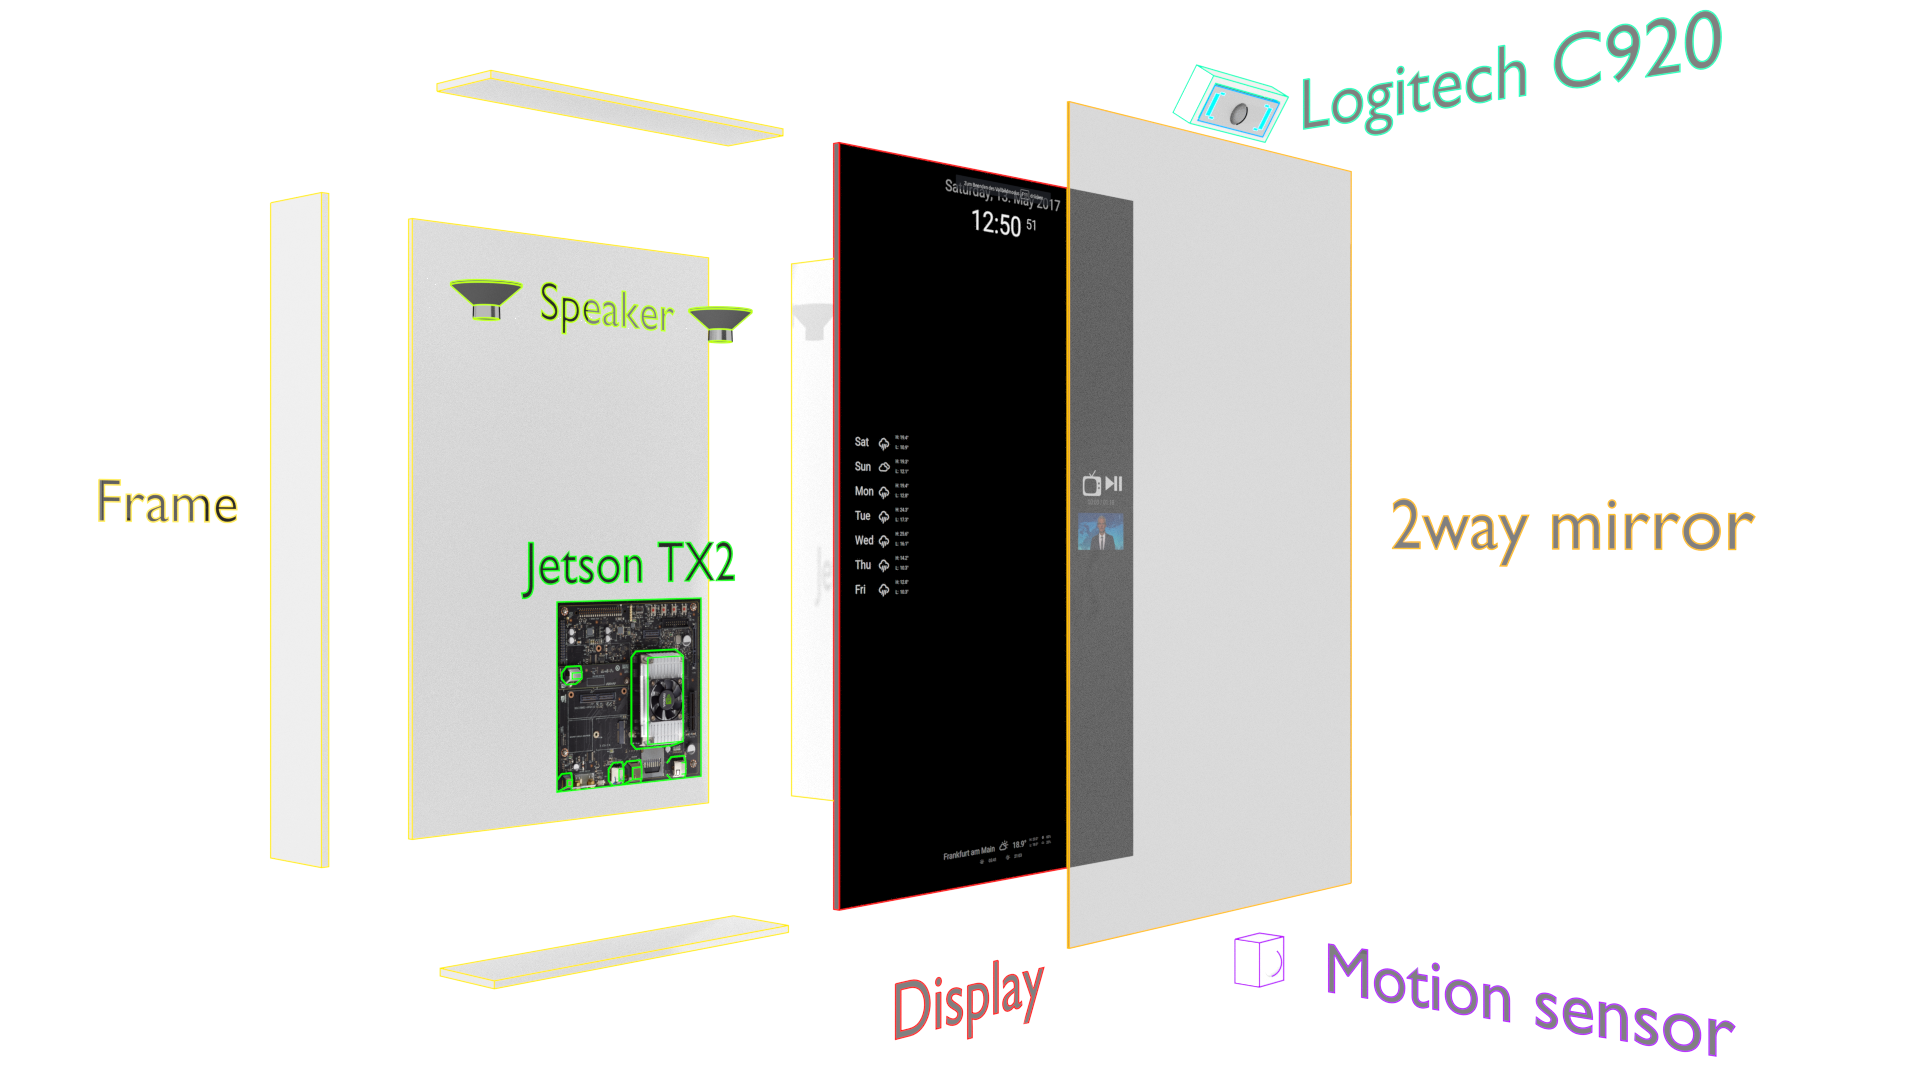
Building a Smart Mirror is a pretty straightforward process. We need a display, a two-way mirror, a computer and some frame to house all of these components.
Frame
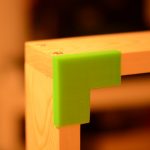
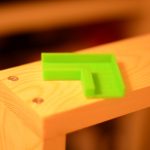
We chose to build a custom frame using wood, screws and glue. We fitted the frame according to the screens dimensions. In lack of better tools, we 3d printed 90-degree-helpers to be able to put in the screws at perfect angles. After all parts have been put together, we gave it a nice surface-finish by sanding it off using progressively finer sandpaper.

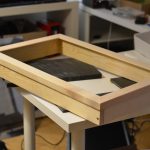
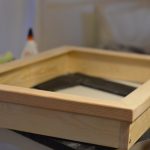
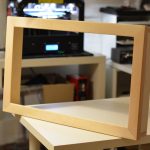
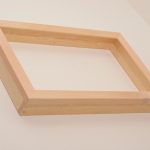
Afterwards, it has been painted with three layers of waterproof white glaze, then spraypainted it with a white finish.
Two-way mirror
This part we ordered at myspiegel.de, a solid glass 2-way mirror.
Screen
We chose a 28″ screen (SamsungT28D310ES 71,1 cm) which offers all needed interfaces and was be slim enough for the build. It has been stripped out of the plastic case, but there is a small metal-frame that we left attached (works).
Compute power
In this build, we will be using a NVIDIA Jetson TX2 board to do the computational heavy-lifting. This awesome embedded board packs some serious GPU compute power and comes with a low power footprint. Furthermore, this enables us to participate in the current NVIDIA developer challenge!
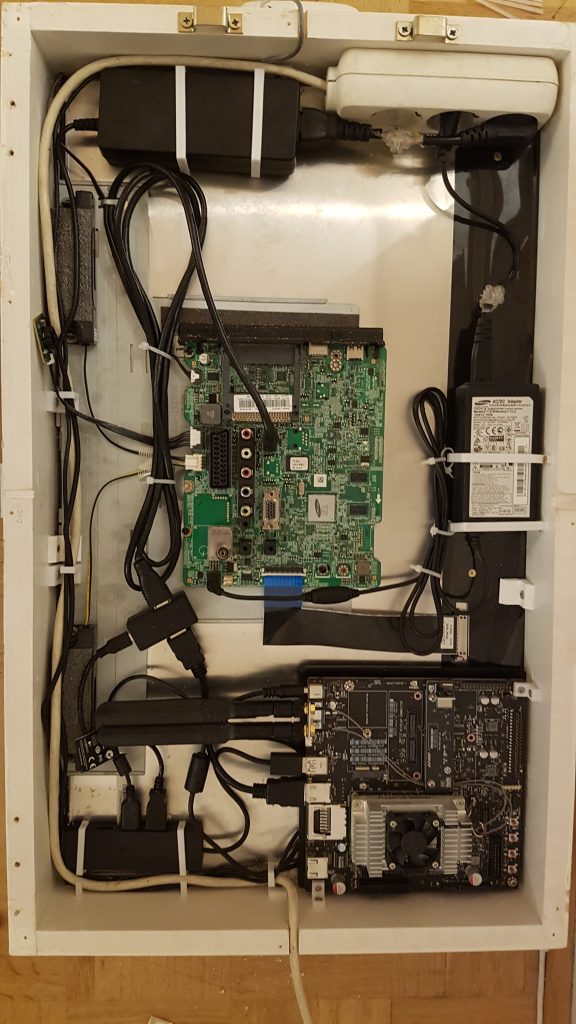
Fitting
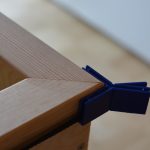
We 3d-printed several angles, cable holders and small parts to fix the screen, its board and the Jetson TX2 inside the frame and trimmed most of the power-chords. We also integrated an USB-hub, as well as a CEC-adapter to send commands over HDMI to the TV (turn on/off, select correct channel), and connected a homebrew PIR motion sensor over an Arduino Nano to USB.
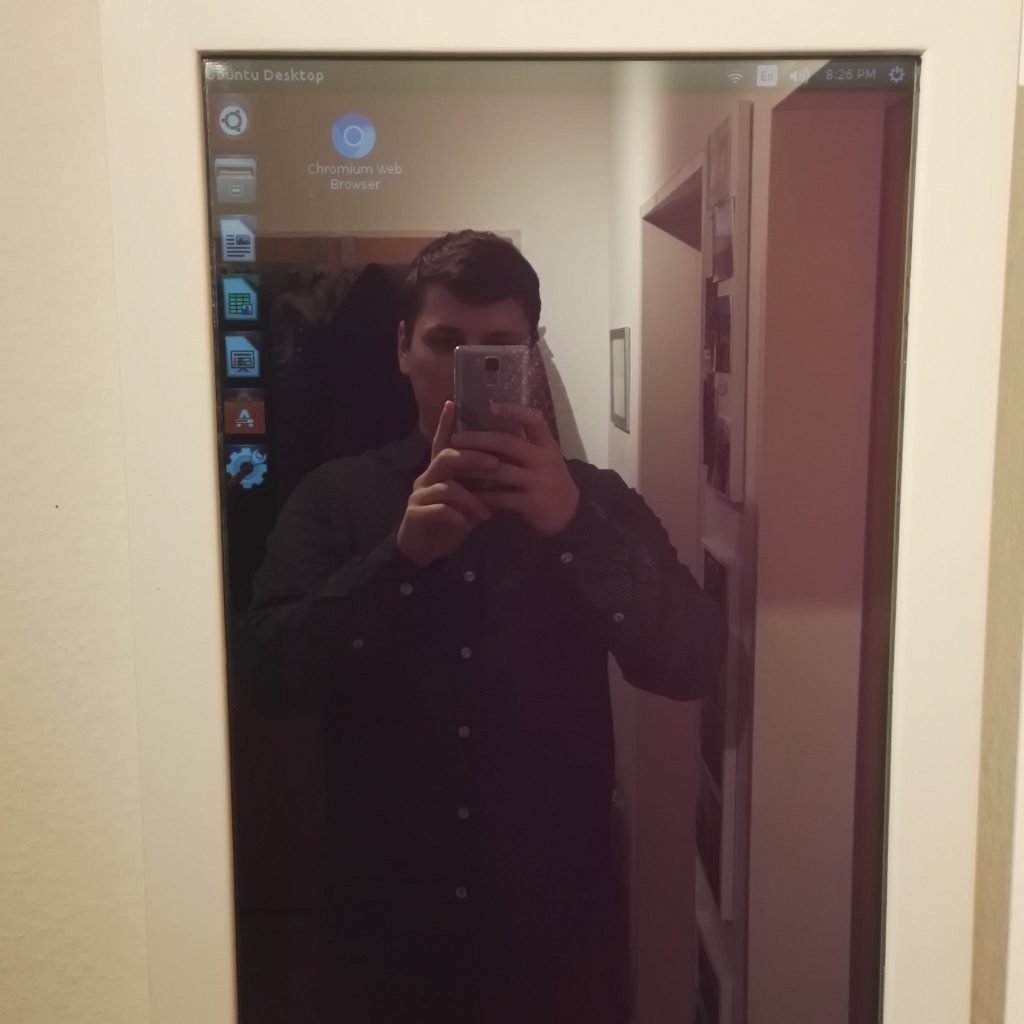
Startup
Surprisingly enough, it powered up and booted our Ubuntu on the first try! Here is Martin with his first two-way-mirror-selfie for his twitter account 😉 Check our next posts for more details on the software and the Machine Learning experiments to come!
Hi, this is a comment.
To get started with moderating, editing, and deleting comments, please visit the Comments screen in the dashboard.
Commenter avatars come from Gravatar.